TUCSON DRYWALL SERVICE
From Cracks to Perfection: Expert Tips for Drywall Repair & Installation
Comprehensive Guide to Mastering Drywall Repair and Installation Techniques for Homeowners and Professionals
Drywall is an essential component in modern home construction, providing a smooth and versatile surface for painting and decorating. However, over time, drywall can become damaged due to various factors such as impacts, moisture, or settling of the house. Whether you are dealing with small cracks or significant holes, mastering drywall repair and installation can help you restore the aesthetics and functionality of your walls. This guide will provide you with expert tips on drywall repair and installation, ensuring you achieve perfection from cracks to smooth surfaces.
Understanding Drywall
Drywall, also known as gypsum board, is made from a core of gypsum plaster sandwiched between two sheets of thick paper. It is lightweight, easy to install, and provides excellent insulation and fire resistance. Commonly used in residential and commercial buildings, drywall is favored for its versatility and affordability.
Types of Drywall
Standard Drywall: The most commonly used type, suitable for most interior walls.
Moisture-Resistant Drywall: Also known as green board, it is designed for areas prone to moisture, such as bathrooms and kitchens.
Fire-Resistant Drywall: Used in areas that require additional fire protection, like garages and between units in multi-family dwellings.
When to Repair Drywall
Understanding when to repair your drywall is crucial for maintaining the integrity of your home. Common signs that indicate the need for drywall repair include:
- Cracks or holes in the wall
- Water stains or discoloration
- Bulging or sagging walls
- Peeling or bubbling paint
If you notice any of these issues, it’s essential to address them promptly to prevent further damage.
Essential Tools and Materials for Drywall Repair
Before you begin your drywall repair, ensure you have the right tools and materials on hand. Here’s a list of essential items:
Tools
- Drywall Knife: For applying joint compound and smoothing surfaces.
- Utility Knife: For cutting drywall sheets and trimming edges.
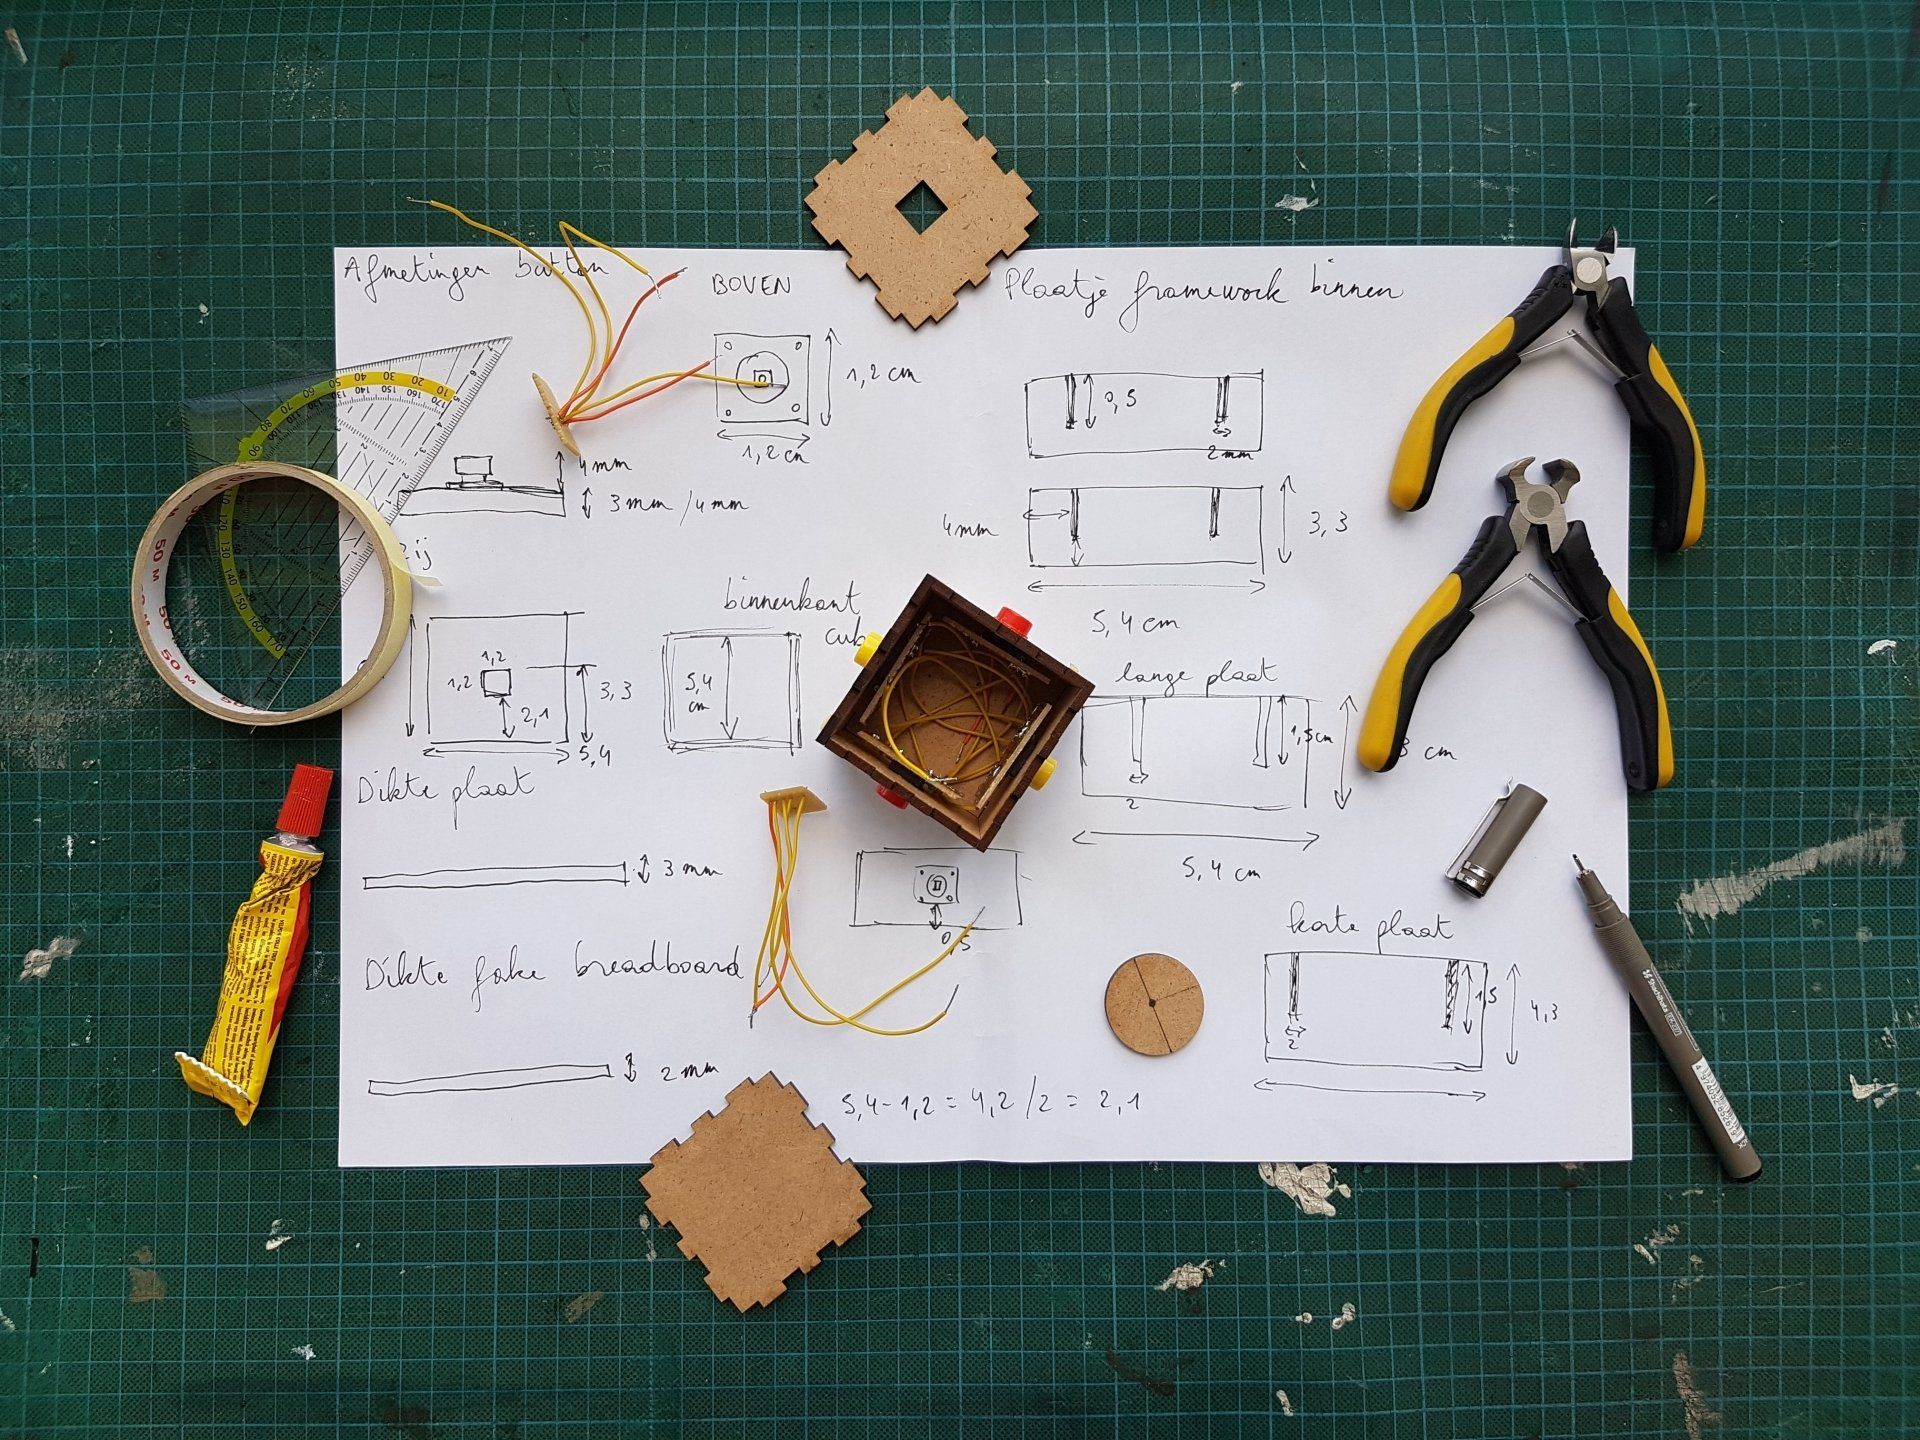
- Tape Measure: To ensure accurate measurements.
- Level: To check that your installations are straight.
- Sanding Sponge or Block: For smoothing the patched areas.
- Drill or Screwdriver: For attaching drywall to studs.
Materials
- Drywall Sheets: Standard or specialty sheets depending on your repair needs.
- Joint Compound: For filling in seams and patches.
- Drywall Tape: Used to cover seams between drywall sheets.
- Primer and Paint: To finish the repaired area and match existing walls.
Drywall Repair Techniques
Repairing drywall is a straightforward process, but it requires attention to detail. Below are step-by-step instructions for common drywall repair tasks.
Repairing Small Cracks
Step 1: Clean the Area
Use a utility knife to remove any loose debris around the crack. This ensures better adhesion for the joint compound.
Step 2: Apply Joint Compound
Using a drywall knife, apply a thin layer of joint compound over the crack, feathering the edges to blend with the surrounding wall.
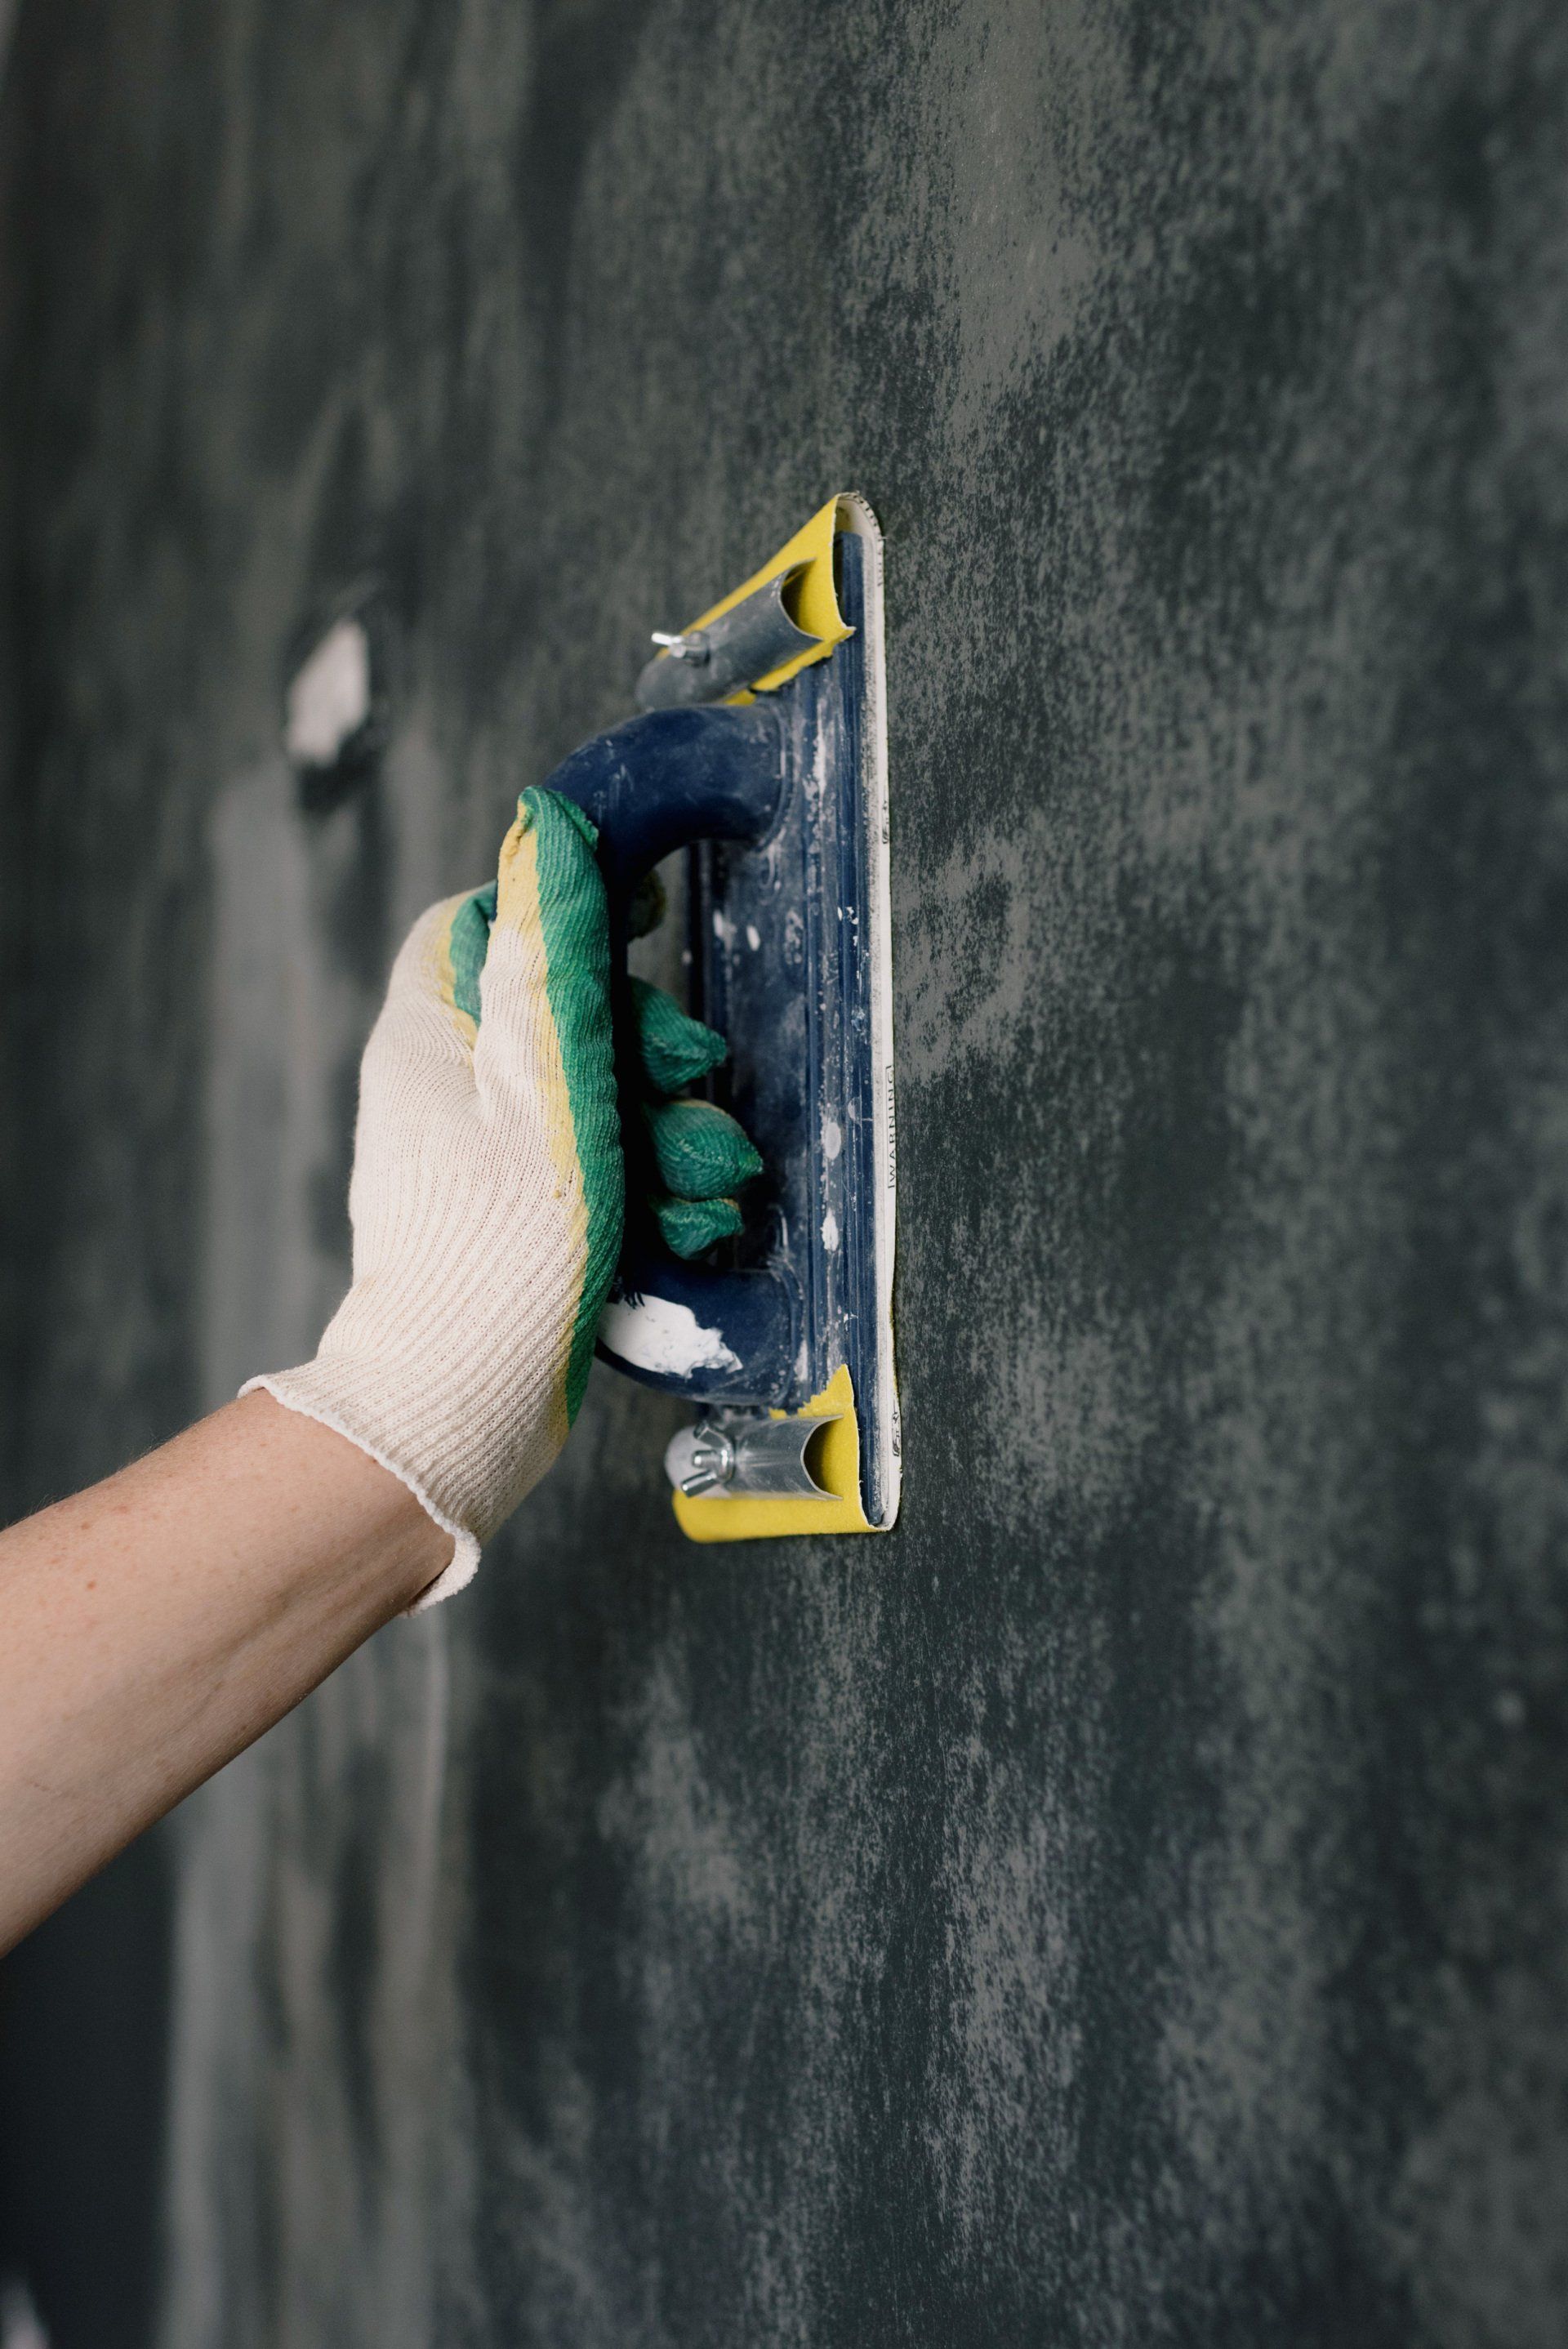
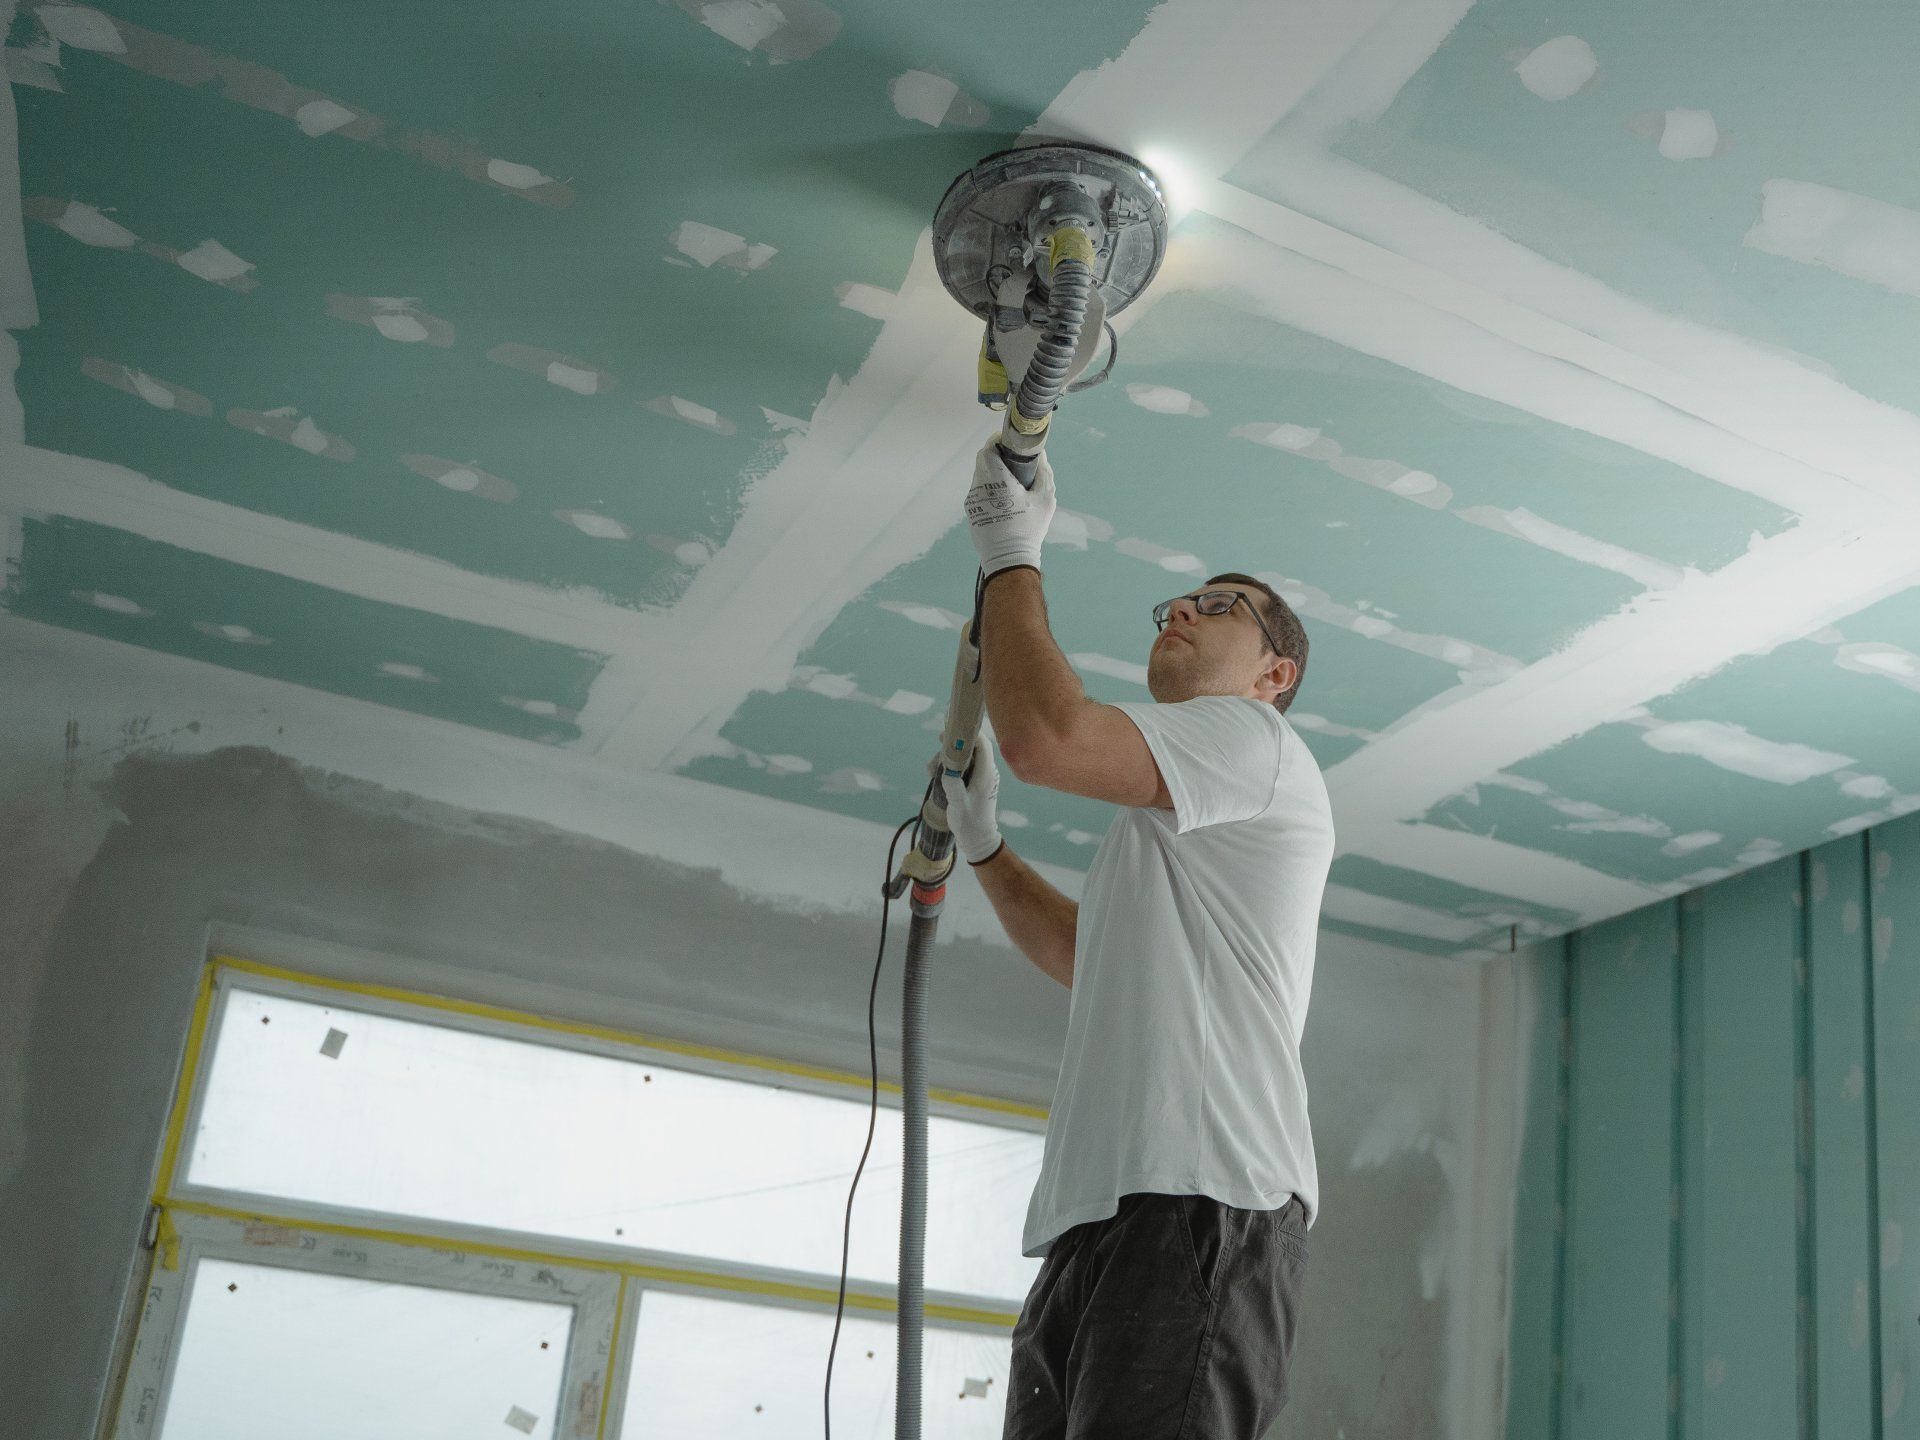
Step 3: Sand and Smooth
Once the compound is dry, lightly sand the area until it is smooth. Wipe away dust with a damp cloth.
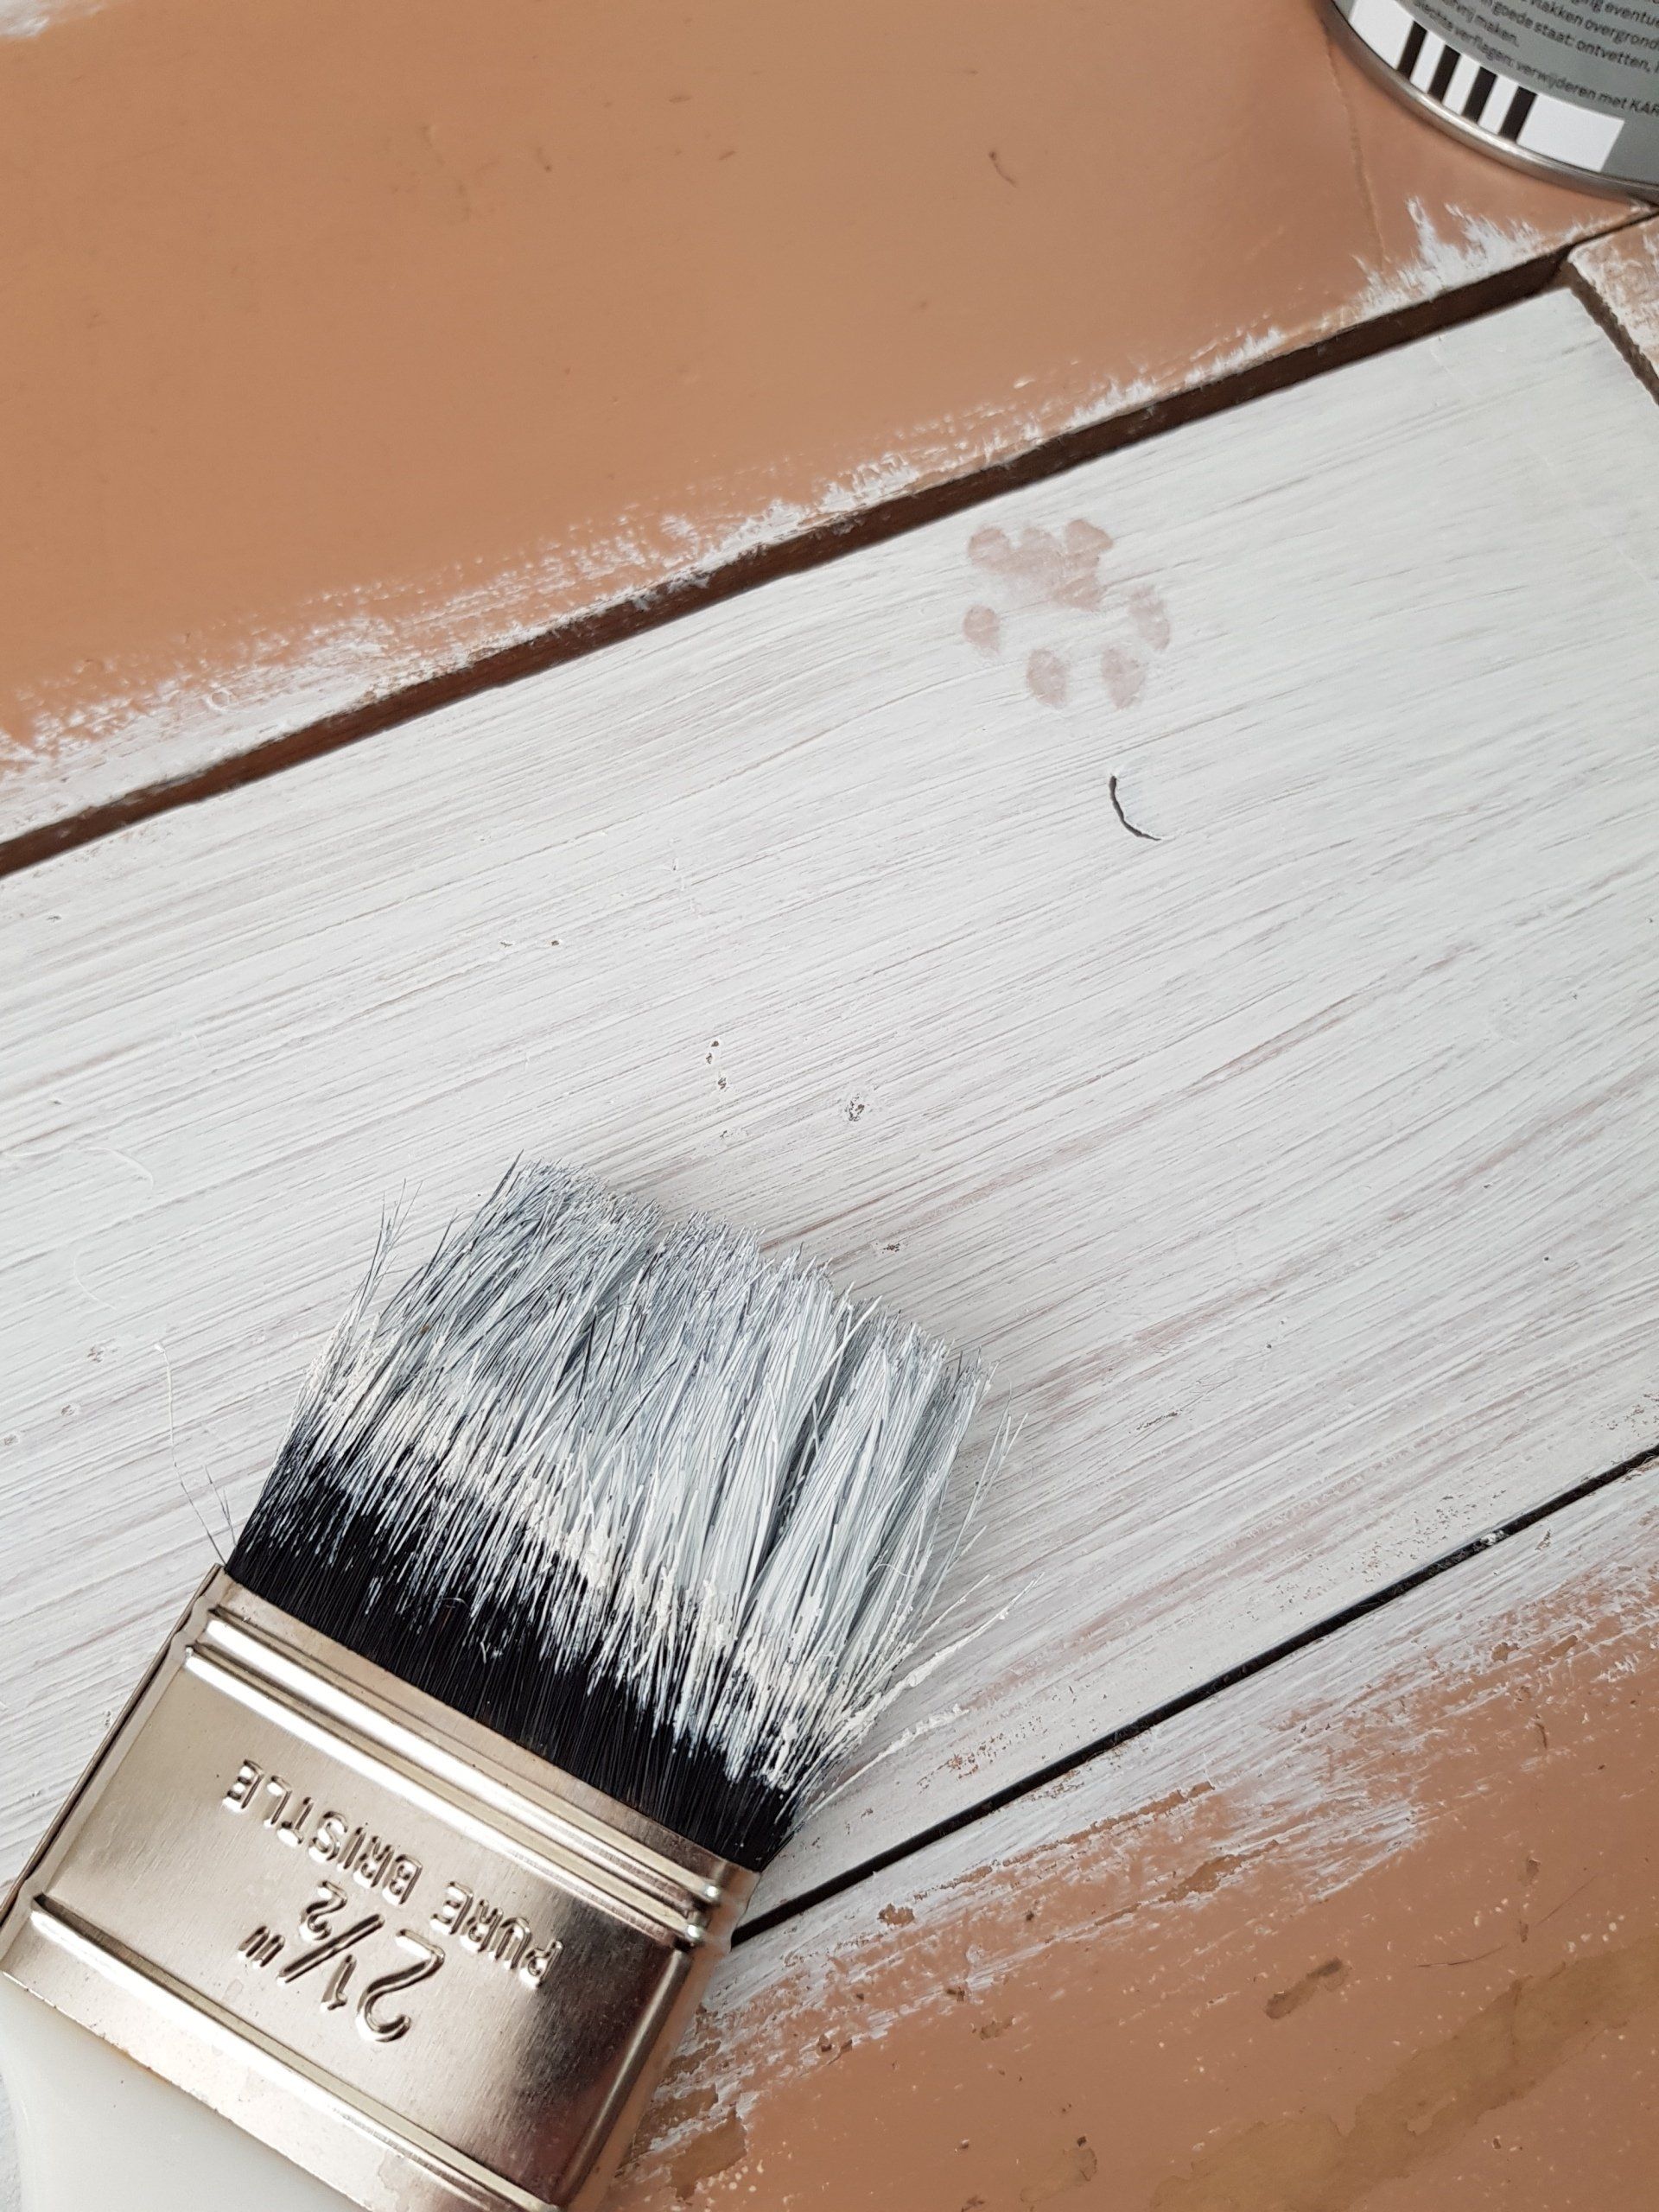
Step 4: Prime and Paint
Apply a primer to the repaired area and paint to match the rest of the wall.
Repairing Larger Holes
Step 1: Cut a Patch
For holes larger than a quarter, cut a piece of drywall that is slightly larger than the hole.
Step 2: Create a Backing
Insert wooden blocks or use drywall clips behind the existing drywall to provide support for the patch.
Step 3: Secure the Patch
Screw the patch into the support, ensuring it is flush with the wall surface.
Step 4: Apply Joint Compound
Cover the seams with joint compound and drywall tape. Smooth out the compound with a drywall knife.
Step 5: Sand and Finish
Once dry, sand the area, prime, and paint to blend with the surrounding wall.
Fixing Sheetrock Wall
Repairing sheetrock wall involves similar steps to drywall repair. Start by cleaning the area, then apply joint compound and sand it smooth before finishing with primer and paint.
Repairing Water Damage
Water damage can compromise the integrity of your drywall. If you notice stains or sagging, follow these steps:
Step 1: Identify the Source of Water
Before repairing, ensure you fix the source of the leak to prevent further damage.
Step 2: Remove Damaged Sections
Cut out any water-damaged drywall and dispose of it properly.
Step 3: Replace with New Drywall
Cut a new piece of drywall to fit the opening and secure it in place.
Step 4: Tape and Finish
Apply joint compound, tape, and smooth the surface. Sand and paint once dry.
Professional Drywall Installation Tips
For those considering new drywall installation, following these expert tips will help ensure a smooth process:
Measuring and Cutting
Accurate measurements are essential. Measure the space carefully, accounting for windows and doors. When cutting drywall, use a utility knife to score the surface and then snap the sheet along the line for a clean break.
Proper Fastening
Use drywall screws rather than nails for a more secure installation. Space the screws about 12 inches apart in the field and 8 inches apart around edges.
Seam Treatment
When installing multiple sheets, stagger the seams to enhance stability. Apply joint compound to the seams, cover with tape, and smooth out to prevent visible lines.
Finishing Touches
After installing the drywall, apply a coat of primer before painting. This helps seal the surface and improves paint adhesion.
Finding Drywall Services
If you’re looking for help with drywall repair or installation, searching for “drywall repair near me” or “drywall contractors” online can yield local professionals who specialize in drywall work. Here are some tips for finding the right services:
- Read Reviews: Look for feedback from previous clients to gauge the quality of work.
- Request Estimates: Get quotes from multiple drywall companies to compare pricing.
- Check Qualifications: Ensure the contractors are licensed and insured.
Popular Searches
- Drywall Repair Tucson: If you are in Tucson, look for specialized services that cater to your needs.
- Sheetrock Contractors: Many contractors focus specifically on sheetrock installations and repairs.
- Drywalling Contractors Near Me: Local contractors can provide quick and efficient services, ensuring your repairs are completed promptly.
Conclusion
Repairing and installing drywall is a manageable task for homeowners with the right knowledge and tools. Whether you’re dealing with minor cracks, large holes, or complete installations, following the steps outlined in this guide will help you achieve professional results. Remember to assess the damage carefully, gather your materials, and take your time with the repairs.
For those who prefer to hire professionals, don’t hesitate to look for drywall repair near me or drywall companies in Tucson. With expert help, you can ensure your walls are restored to their former glory, maintaining the aesthetic appeal and functionality of your home.
Ready to work with TUSCON DW?
Let's connect! We’re here to help.
Send us a message and we’ll be in touch.
Or give us a call today at 111-222-3333
Agency Contact Form
More Marketing Tips, Tricks & Tools