TUCSON DRYWALL SERVICE
Framing Fundamentals: Essential Techniques for Hanging Drywall
Master the Art of Drywall Hanging and Framing with Expert Techniques and Tips
Hanging drywall is a fundamental skill in the world of construction and home renovation. Whether you’re building a new space or renovating an existing one, understanding the techniques of framing and drywall hanging is essential. In this comprehensive guide, we’ll explore the basics of framing, the types of drywall sheets, and the essential techniques for a flawless finish. From drywall repair to the various texture types, we'll cover everything you need to know to become proficient in drywalling.
Understanding the Basics of Drywall and Framing
Before diving into the techniques of hanging drywall, it’s important to understand what drywall is and the role of framing. Drywall, also known as gypsum board or plasterboard, consists of a core of gypsum sandwiched between two sheets of heavy paper. It’s commonly used to create walls and ceilings in residential and commercial buildings due to its fire-resistant properties and ease of installation.
Framing is the structural framework that supports the drywall. It typically consists of wooden or metal studs that create the skeleton of a wall. Understanding the relationship between framing and drywall is crucial for a successful installation.
Types of Drywall Sheets
When selecting drywall sheets, you’ll find various types to choose from, each designed for specific applications. Here are some common types of drywall sheets:
Standard Drywall:
This is the most commonly used type, suitable for interior walls and ceilings.
Moisture-Resistant Drywall: Often referred to as green board, this type is ideal for areas exposed to moisture, such as bathrooms and kitchens.
Fire-Resistant Drywall: Designed for use in areas where fire resistance is required, such as garages and multi-family dwellings.
Soundproof Drywall: This type contains additional soundproofing materials to reduce noise transfer between rooms.
Selecting the right type of drywall sheets is essential for ensuring durability and meeting building codes.
Framing Techniques for Hanging Drywall
Measure and Mark the Studs: Before you begin hanging drywall, measure and mark the locations of the studs on the floor and ceiling. Use a stud finder to locate the center of each stud and mark them every 16 inches (or 24 inches for wider framing).
Cutting the Drywall Sheets: Measure the height of the wall and cut the drywall sheets accordingly. Use a utility knife to score the paper on one side, then snap the sheet along the scored line to create a clean break.
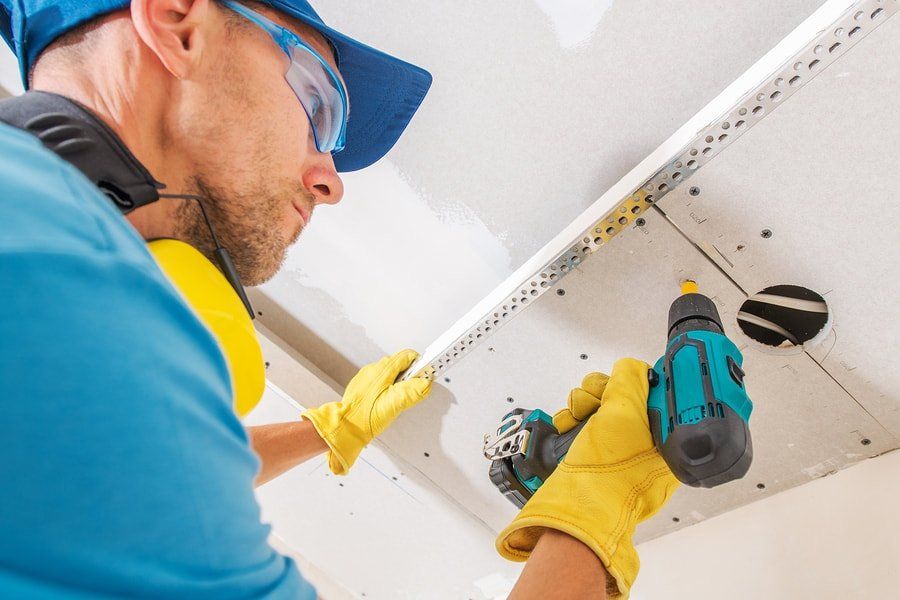
Hanging the Drywall: Start by hanging the first sheet horizontally against the top of the wall. Align it with the stud marks and use drywall screws to secure it. Begin at the top of the sheet and work your way down, placing screws every 12 to 16 inches along the edges and every 16 inches in the field of the sheet.
Staggering the Joints: When hanging multiple sheets, stagger the joints between rows to enhance the wall's strength. This helps prevent cracking and provides a better surface for finishing.
Securing the Corners:
Pay special attention to corners by cutting the drywall sheets at a 45-degree angle. This ensures a snug fit and reduces the likelihood of cracking at the corners.
Essential Drywall Techniques
Taping and Finishing
Once the drywall sheets are hung, the next step is drywall and taping, which involves applying drywall tape and joint compound to the seams. Here’s how to do it:
- Apply Drywall Tape: Use either fiberglass mesh or paper drywall tape. For paper tape, apply a thin layer of joint compound over the seam, then press the tape into the compound, smoothing it out with a drywall knife.
- First Coat of Joint Compound: After taping, apply the first coat of joint compound over the taped seams and screw heads. Feather the edges to ensure a smooth transition between the drywall and the compound.
- Sanding: Once the first coat has dried, sand the surface lightly to remove any bumps or imperfections. Use a fine-grit sandpaper to achieve a smooth finish.
- Second and Third Coats: Apply a second coat of joint compound, feathering it out further from the seams. Allow it to dry, sand again, and then apply a third coat if necessary.
Sheetrock Finishing Techniques
Finishing sheetrock walls is an art that requires patience and precision. Here are some techniques to achieve a professional-looking finish:
Knocking Down Texture: If you want to add texture to your walls, use a knockdown technique by spraying joint compound mixed with water onto the surface. After it dries slightly, flatten the texture with a wide knife.
Using Texture Types Drywall:
Explore different texture types drywall, such as knockdown, slap brush, and popcorn, to enhance the aesthetic appeal of your walls. Each texture type can create a distinct look and feel in your space.
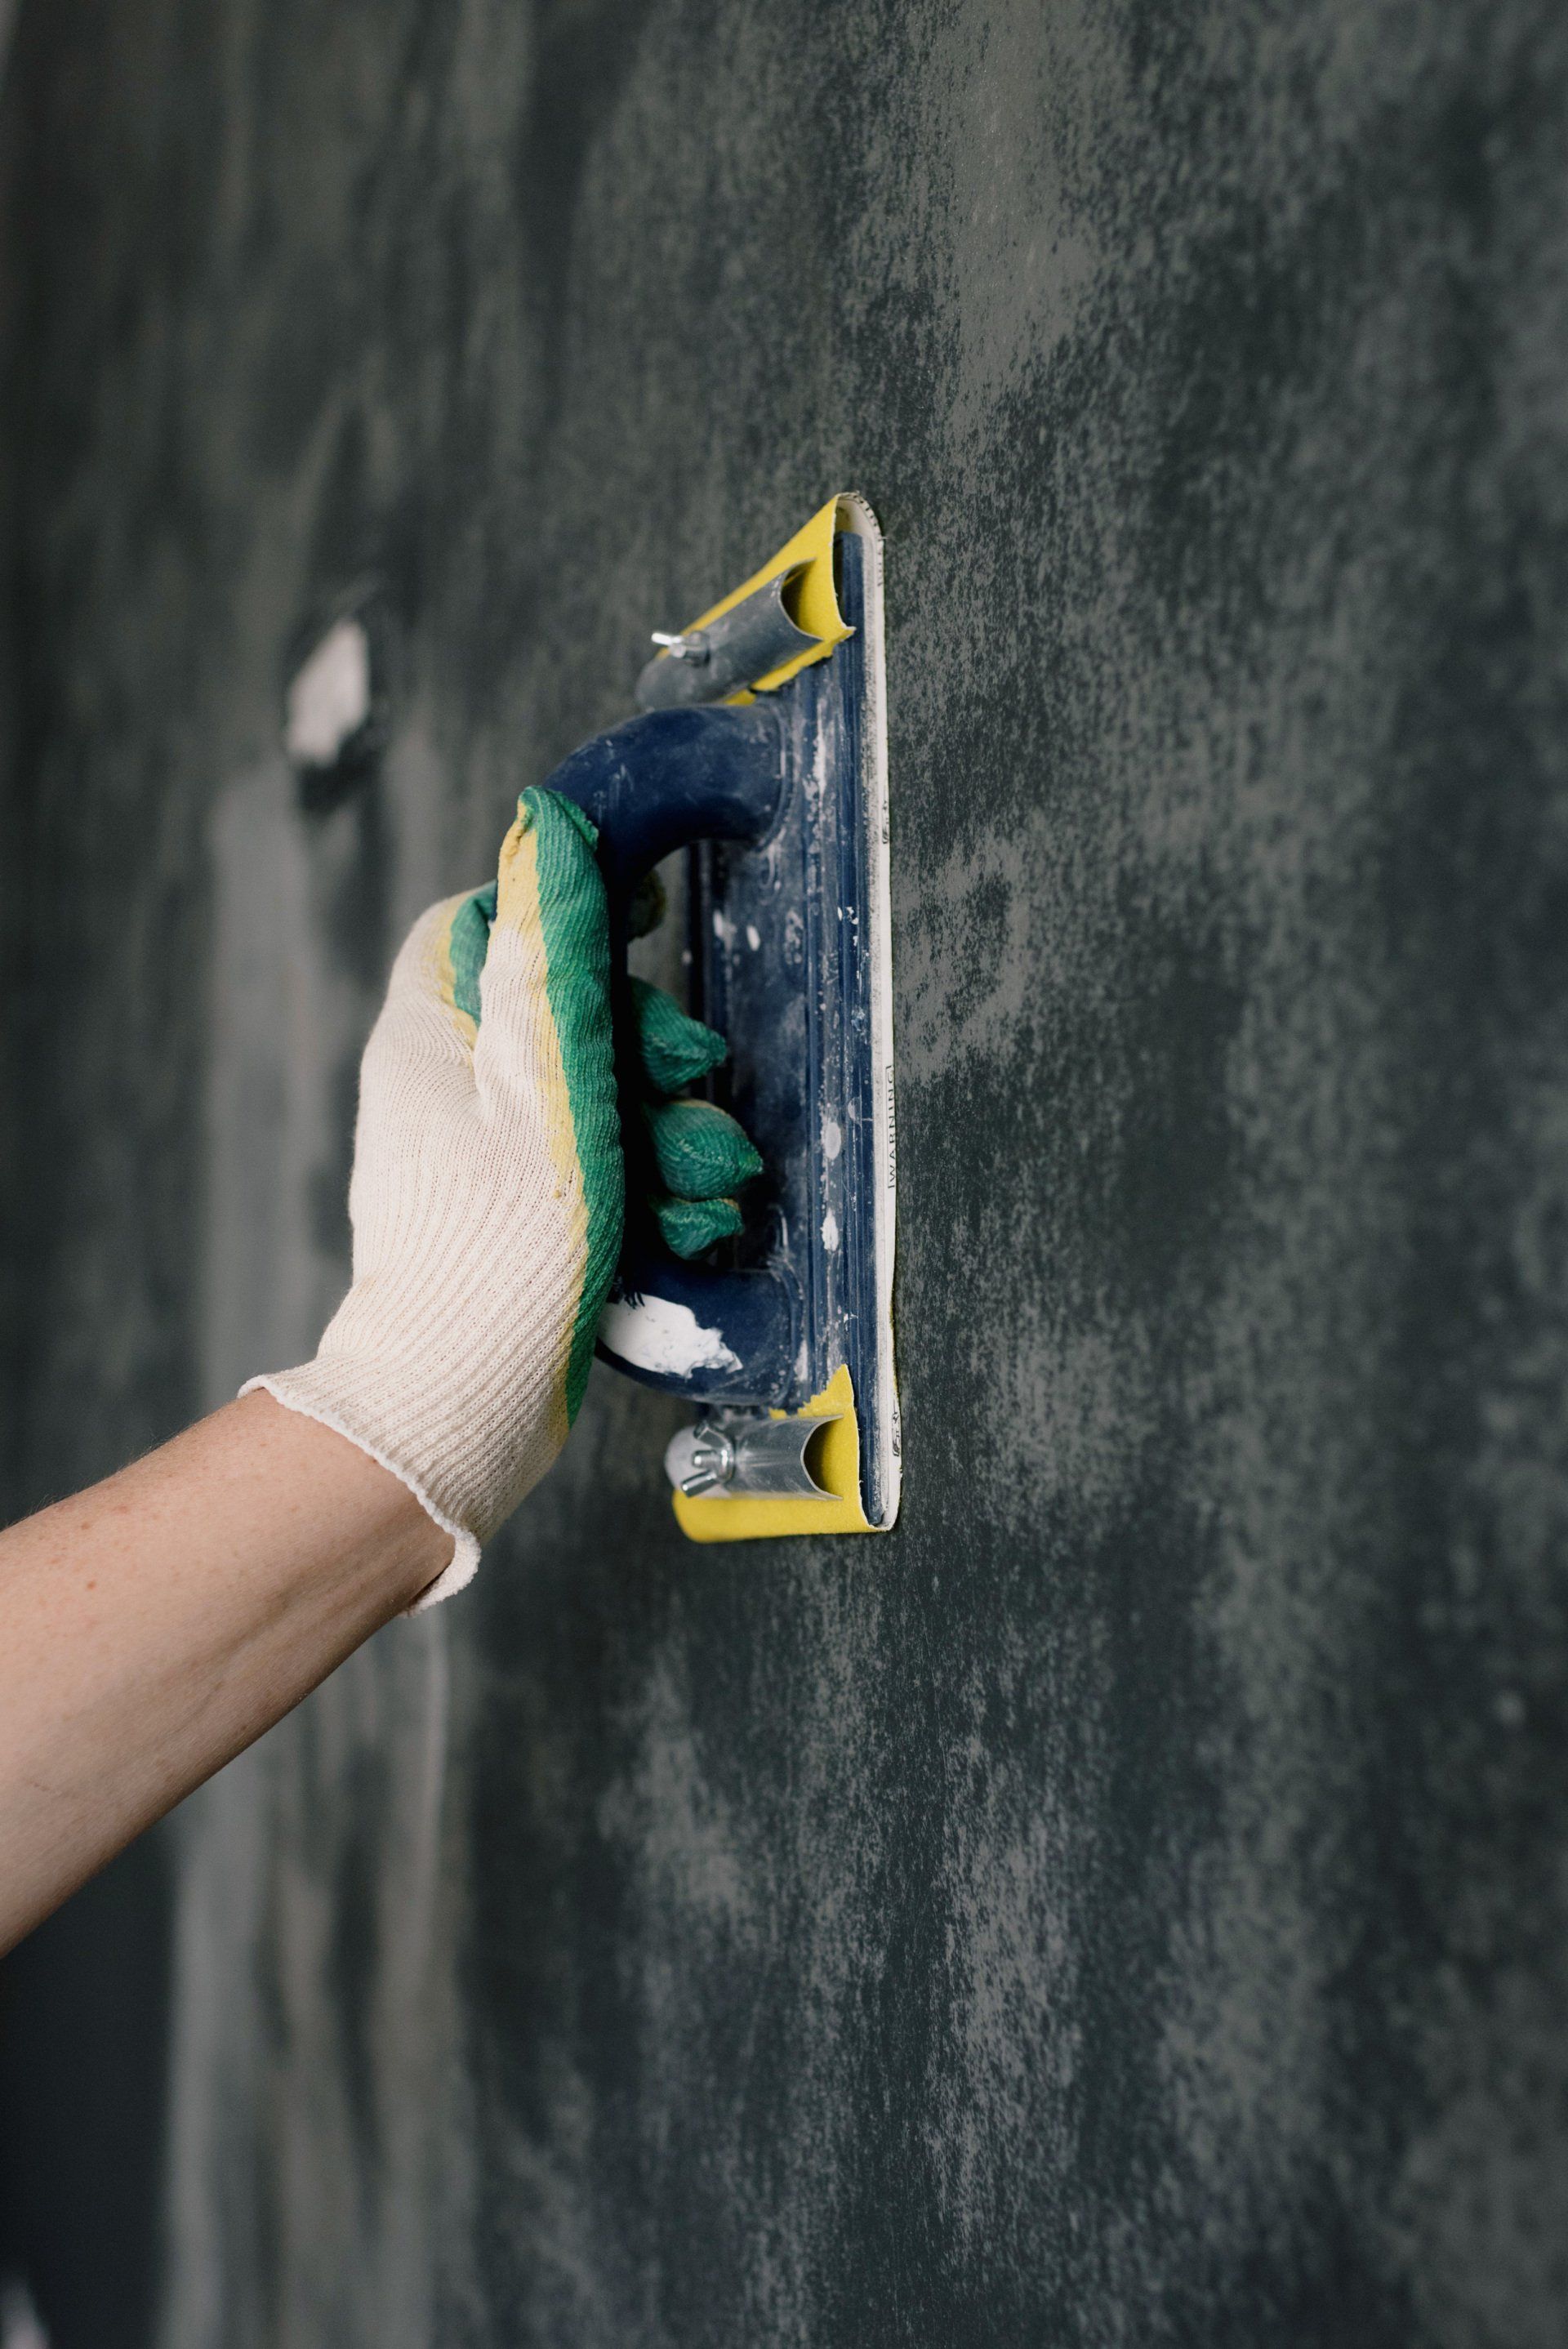
Final Sanding: Once the last coat of joint compound is dry, do a final sanding to ensure a smooth surface. Vacuum the dust to prepare for painting or applying a drywall texture.
Common Drywall Issues and Solutions
Even with careful installation, you may encounter common issues when working with drywall. Here are some solutions for typical problems:
Cracks in Drywall: Cracks can occur due to settling or improper installation. For drywall repair, clean the crack, apply a layer of joint compound, and sand it smooth.
Dents and Dings:
If you accidentally create a dent in your drywall, you can repair it by applying joint compound, sanding, and repainting the affected area.
Moisture Damage:
In areas exposed to high humidity, such as bathrooms, moisture damage can lead to mold and deterioration. If you notice damage, replace the affected drywall sheets with moisture-resistant options and ensure proper ventilation.
Finding the Right Drywall Contractors
If you prefer to hire professionals for drywall installation, consider searching for drywall contractors in your area. Look for drywall companies Tucson or drywalling contractors near me for options. It’s important to check reviews, request quotes, and ask about their experience with drywall and finishing to ensure you choose a qualified contractor.
Conclusion
Hanging drywall is a crucial step in the construction and renovation process. By understanding framing fundamentals and employing essential techniques for drywall hanging, you can achieve a professional finish in your space. From selecting the right drywall sheets to mastering the taping and finishing process, this guide has provided you with the knowledge you need to tackle your drywall project successfully.
Remember, practice makes perfect, and with each project, you'll become more proficient in drywall hanging and framing. Whether you're a DIY enthusiast or a
seasoned professional, the skills you develop will serve you well in any renovation or construction endeavor. Happy drywalling!
Ready to work with TUSCON DW?
Let's connect! We’re here to help.
Send us a message and we’ll be in touch.
Or give us a call today at 111-222-3333
Agency Contact Form
More Marketing Tips, Tricks & Tools